Showing posts with label toddler help. Show all posts

Wednesday, February 19, 2014

Crafting with kiddos- bird feeder

Natalie is having a hard time (as am I!) with this cold weather and not getting to go out to play!
 
So today we decided to try something different to switch up our usual crafting routine.... we made a bird feeder!!
 
What you need: peanut butter, an empty toilet paper roll (or pine cone- preferable, but I didn't have one), string, scissors and wild bird seed.
 
 
First we put peanut butter all over the toilet paper roll and then Natalie rolled it back and forth on a plate with some seed on it.

 
Then putting the finishing touches on with sprinkling on the bird seed where there is space

 
Then I strung some string through it and tied it so that it could be hung from a tree.
All done! And so proud!

 
Hanging outside!

 
Unfortunately, it is quite cold out still...... so not too many birds out right now. haha! oops, mommy fail!
 
But........... there were a few hungry squirrels that were very happy to partake in the seeds, so I'll call it a success. :)

Pin It Now!

Monday, January 20, 2014

DIY shirts in ANY theme

Oh my goodness, I am just SO excited about this!!

For my daughter's birthday, she choose a very unusual theme so finding a personalized shirt was basically impossible. So in the midnight hour of planning the party, I had an eureka moment! I can MAKE them myself.

Let me preface this by saying I do NOT sew and I am actually not that good at being crafty. (Just PAPER! haha!)

I bought this at walmart:


Avery printable iron ons.

Here are the super simple steps involved:

1. google images from your theme
2. save and import into microsoft word
3. print on your ink jet
4. cut out the image as close to the actual image as possible.
5. placing the shirt on a table on top of a pillow case, iron on at the cotton setting. (Also need the waxy paper provided)
6. allow to cool
7. wash in the washing machine inside out
8. dry on low in the dryer.

*** Step 7 and 8 I did not anticipate so I was lucky I did it with a few hours to go before her party.


I then decorated the back as well! I put a cutting board in between the layers of the shirt (once the front of the shirt had dried) and it worked really well!!!

Here are the final products!
 
Personalized with name and age!


One for little Gavin too!


And the front!


I'm sooooooooooooooo excited and addicted to this!! :) It was SO easy and I just love that the possibilities are endless!!
Pin It Now!

Sunday, January 12, 2014

crafting with toddlers- handprint turkey

Here is a fun way to preserve your child's handprint AND do something fun with them!
 
Although this is something my daughter and I did for thanksgiving, it can easily be adjusted to fit any holiday or season. :)
 
You will need:
 
1. google eyes
2. an empty toilet paper roll
3. construction paper or scrapbook paper
 
 
I traced my daughter's hand once and then used that as a stencil to make it easier to trace since it was SO HARD to keep her holding still! haha!

 
I cut a full set in each color.....

 
But only ended up needing one set! It looked too busy with all six hand prints.

 
Glue the google eyes on with elmers glue, hot glue or even our favorite..... the martha stewart glue pen. I also cut out the beak and gobble thing (what's that called? lol) out by hand to make it extra turkey like.
 
SO CUTE!! You can also do something similar for reindeer antlers! Stay tuned as I'm sure we will do it! :)

Happy crafting!!

Pin It Now!

Sunday, August 18, 2013

crafting with kiddos- finger paint!

So I must admit that with being a little over five weeks away from my due date, I've been a little less than creative with entertaining my two and half year old. She's been watching a lot of TV, which is fine, but it's more than I would normally like.
 
Finally one day the guilt got to me and I decided I needed to come up with some new activities for her to do that she could on her own without a WHOLE lot of me running around with her.
 
Enter....... FINGER PAINTING!
 
I got this GIANT easel pad and WASHABLE (that's key!) finger paint as well as an easel by pottery barn off of amazon.
 
I put it all on a paper plate for her to mix together as she pleased
 
 
It took her a few minutes to get over the "mess" factor and realize it was ok for her hands to be "dirty"
 
 
So serious!!

 
My little Picasso at work! :) I just love the little undies and this Melissa and doug painters smock!


So proud of herself! "I LOVE painting!!!!!"

 
Great success! It kept her REALLY busy for a good 20 minutes which was just enough time to get some lunch prepared for the two of us. :) Or, in a few short weeks, I'm hoping she can do this while I nurse!
 
The clean up was then SO simple! Just used a wet washcloth and it all came off immediately!!! Gotta love that!
 
We have since expanded a little bit to include singing songs and painting those songs. More on that in a future entry!
Pin It Now!

Sunday, July 7, 2013

Fun with toddlers- POTTY TRAINING!

Those of you who also follow us on our FACEBOOK page know that Rachel and I have both been potty training our little ones!
 
I am happy to report a HUGE success for us both!! :)
 
Rachel will post about her method, I'm sure, but thought it would be good to get two perspectives with two different gender kids!
 
First of all, I would like to mention that I tried THREE times before this to potty train Natalie (starting at 18 months--- she is now 2.5)  using a three day method and she simply wasn't ready. So when it came time to do it this time, she caught on really quickly! :) So not sure if it went so smoothly because she had had the prior 'training'.
 
I had been told by Natalie's gymnastics teacher that she is a visual learner, so I knew this time I needed to make this whole potty training business.......visual.
 
So I found this guy online and printed him up three times in different sizes. I posted one on a poster titled "Natalie's BIG GIRL chart!" with a column for Pee-pees and one for Poopies
 
One on a bag of stickers (rewards!)
 
And one on a vase with M&M's (more rewards! what girl isn't motivated by chocolate??)
 
 
Here she is half way through day 1. In the morning, we took away the diapers. I purposely waited until we ran out so I could show her that we didn't have anymore. She saying "oh no! we need to get more at the store!"
 
She definitely put up a huge fuss when I put the "big girl undies" on, and my husband and I questioned if we should even be doing this...... but we pushed on.
 
We put painter's tarps all over our carpet and furniture anticipating the worst! We put a little potty in the room with her and explained to her what needed to happen. "Pee-pees go in the potty" She nodded her head yes that she understood.
 
 
This is the potty we used from Amazon (I've also seen it at BRU)
 
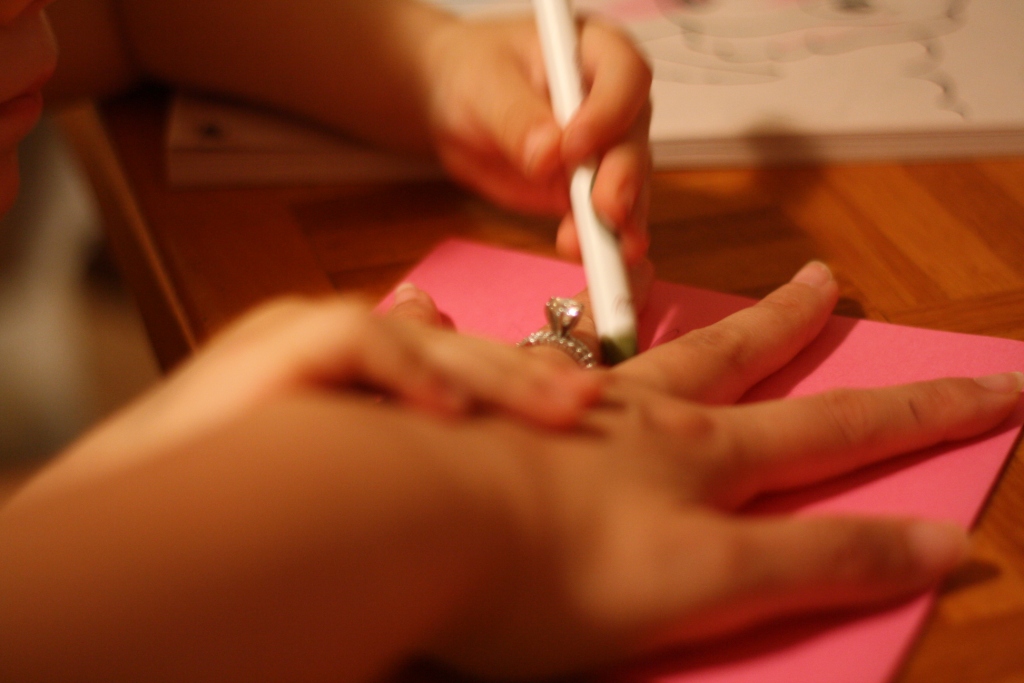
We had two very small accidents that morning. Each time we would calmly reminder her that pee-pees go in the potty and that she needed to let us know when she had to pee. We would change her underwear and shorts and go about our day. After the second accident, I placed her on the potty with my iPhone and set the timer for one minute and told her she could get a reward if she sat there until my phone made a noise.
 
The timer went off and she got a single M&M. This peaked her interest. haha!
 
Then we did again, this time with 2 minutes. This time, she happened to pee. WOO HOO!!! So we took this opportunity to make a BIG deal out of it and show her that she had peed in the potty. She also got to put a sticker of her choice (from the bag with the potty on it) under the pee-pees column and she got two M&M's.
 
From that point, she got it! she would run up to us and say "pee-pees coming!!!!"  Then would proudly put her sticker on the poster and enjoyed her M&M's.
 

This was the end of day 1.
 
I did put her in a pull up, which we called "night time undies" at night as I wasn't quite ready to change the sheets three times during the night. I made sure that she didn't think these were diapers so she would understand NOT to have accidents at night.
 
Day 2

 
She had an accident first thing in the morning and cried saying "oh no!!" so again, we calmly sat her on the potty to finish and explained again to let us know if pee-pees were coming. I had read it is important to give them the control instead of asking all of the time if they have to pee.
 
After this accident, she was home free!
 
Day 3

NO ACCIDENTS!!!
 
We went about a week with no accidents and then we had one small one. I knew she had to pee, but I was trying to give her to space to recognize it. She pushed it too long because she was "still playing"
 
But she has now been about a month accident free now! :) Whew! Now I feel like I can post about it and not jinx it! haha!
 
About a month in, I took away the night time undies. We had some travel coming up and I didn't want her peeing in the bed of a hotel or relative so we just stuck with them. A lot of methods discourage this, but for us, this is what worked. She was waking up dry so I was confident that when we got home it would be smooth sailing..... and it was!!
 
So happy to get this out of the way before baby brother arrives in early October!
 
**NOTE: For some reason, Natalie got that poop goes in the potty before we started the potty training process. She used to tell me "bye!" so I knew she had to go. So one day I took her up to her room with the potty and took off the diaper and closed the door after explaining to her she should sit on the potty and poop.  She did it and loved that it wasn't messy anymore so *luckily* this was the easy part for us.


Good job to my BIG GIRL, Natalie. <3

Pin It Now!

Sunday, June 2, 2013

Fun with toddlers- Fort building!

I had this huge box and some scraps sitting around and decided to try making a cardboard house with it! It actually came out pretty well concidering I didn't use pinterest, google, or anything else for ideas!
 
 
I taped the flaps of the box up and then used scraps for the roof.
 
I cut out the windows and door.
 
Then it was his turn to help! I let him decorate the box!

 
He loves to have a house of his own!

Pin It Now!

Sunday, May 26, 2013

Fun with Toddlers-Memorial Day Craft!

Happy Memorial Day! Here is a cute craft we did this weekend to celebrate!
 
Supplies:
Red, white and blue poms (any craft store will have them!)
A piece of paper
Scissors
Glue
Cut the paper into any shape you want-we did a star but any shape will look cute!
 
 Since we have been practicing our colors, we glued the poms by color onto the points of the star. I asked him what color he wanted to use (I only had red, white and blue as options) and them reminded him to only use that color. I put glue around the edged of one section at a time.
 
He liked that some of the poms were different sizes since he's been investigating "tiny" and "big" things lately.
 
 
Here is our Memorial Day star craft! Hope it inspired you to get creative with your little ones!
 
We would love to see what crafts you are doing with your little ones! Email us photos and we will post them the following sunday for our Toddler Time entry!
Pin It Now!

Saturday, May 11, 2013

Mother's day craft and keepsake

Mother's day is tomorow and like the rest of you mamas out there, I'm sure every year, it just seems to go too quickly! These little ones grown too fast!!
 
I saw these cute little hand print heart cards on Pintrest that I had been meaning to try and thought that Mother's day was a perfect opportunity to try it out!
 
We tried many times, but I think maybe Natalie's hands are still too small to make to work as the cards I was hoping it would be, but at least I'm left with a cute little keepsake to always remember just how small her hands were!
 
To start, I took a piece of scrapbook paper, cut it half and then folded one of the halfs in half. So a 6X12 sheet.


I placed natatlie's hand on the edge where the fold was and tried to get her thumb and pointer finger to stay in a spot where when I cut it would be a heart. She didn't want to hold her hand very still after about the fourth time. haha!

 
then it was mommy's turn. Natalie loves taking turns tracing eachother's hands. :)

 
Practicing tracing her own hand

 
then we cut it out!

 
The finished product! Ideally you would have the pointer fingers touching too so that it makes a heart. I tried four or five times and I think her hands are just too small still to make it work right. Maybe this would be perfect for a 4-5 year old?

 
I still got a cute little keepsake to put in her scrapbook though so I can always remember how small her hands were. <3

 
Happy Mother's day to all of you!! <3
Pin It Now!

Tuesday, May 7, 2013

Baby #2 is a......


Yay! So both Rachel and I will have one of each!! :) How special!!
 
Of course I couldn't help but make a banner for this special occation! *wink*
 
Definitely a little nervous to head into unknown territory, but we are thrilled (my husband actually screamed "YES!" and fist pumped when he found out) and can't wait to meet this little guy who is sure to steal our hearts. <3
 
Hopefully Natalie will adjust gracefully and take to being a BIG SISTER well!! Her world is about to get rocked in about 20 weeks!! :)

Pin It Now!

Monday, April 29, 2013

Hello from Japan!

Konichiwa!! Hello from Japan! 

Thanks to Rachel for holding down the fort while my family and I travel to Japan for two weeks to introduce my daughter and husband to my family and celebrate my cousin's wedding! :) 

Here are a few highlights from our trip so far!


Visiting the Ueno Zoo near Tokyo. They are famous for having a panda and all I heard from Natalie for the weeks before our trip was "Pandas in Japan!!" so she was very excited to go!


We visited the Ninja museum. As some of  your remember Natalie's Ninja Hello Kitty Birthday Party 
she had a blast and enjoyed the Ninja show! :) (pictured with her grandfather too!)


Visiting the "white phoenix" castle and proving baby #2 was there too!!


Natalie trying to see the Golden Pavilion :)  LOVE how she is standing on her tippy toes!! <3


Hanging out with her grandmother at a temple in Kyoto, Japan up in the mountains. GORGEOUS view!


Once we returned to my hometown of Kumamoto, we visited the pre-school that my mother and I attended as children. My aunt now is the principle there and arranged for Natalie to visit and play with the kids. :)


And the main event! My cousin Saori (who was really more like a sister to me growing up) married her sweetheart, Daisuke on Sunday, April 28th! Natalie was a flower girl equivalent. :) She was a little overwhelmed by the whole experience, but I did manage to get a cute photo of her calm. :-p

It's been a great trip and there is still more to come, but I will be returning soon to the US to hit the ground running on all of our upcoming ADORABLE parties! 

See you soon! :)


Pin It Now!